Increasing the efficiency in stainless steel production is one of today’s challenges. Higher energy and raw material costs are driving up the total production cost, while low-cost competition from overseas is relentless. Efficient and reliable optical inspection systems for process- and quality control may help to increase efficiency.
Text & images by Dr Schenk
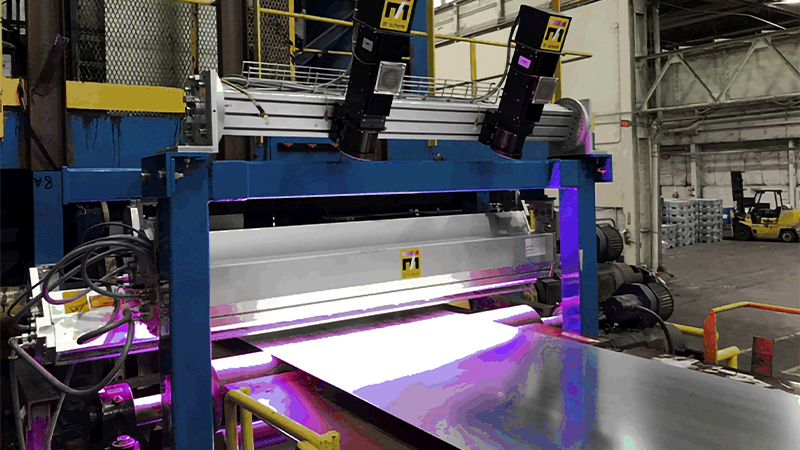
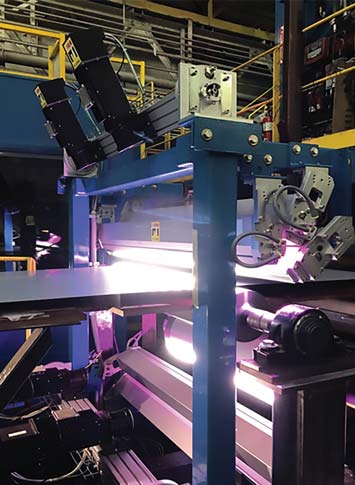
All surface inspection systems (SIS) share the same basic configuration. Cameras and illuminations record digital signals from inspected material. Hardcoded algorithms process the signals into an image, which may in addition be filtered before an automated classifier decides what the system has detected.
Reliable defect detection aside, the performance of an inspection system is evaluated by the accuracy of its classifier.
At first glance, an intelligent software classifier should do the job to satisfaction. However, reality teaches us differently. SIS users still suffer from false hits and limited classifier accuracy, no matter how intelligent the software seems to be. Deep learning algorithms can differentiate between images of Siberian and Alaskan Huskies, and smartphone apps reliably classify edible versus poisonous mushrooms. But who would actually eat that mushroom, considering the classifier accuracy of metal surface inspection systems? Bon appétit!
The reason lies somewhere between the complexity of stainless steel defects and the deficiency in signal information, at least when compared to a high-resolution image of a mushroom.
In conclusion; if there are software algorithms that are capable of differentiating mushrooms reliably but are unable to transfer this reliability to metal defects, then improvements cannot be driven by software only.
A new approach
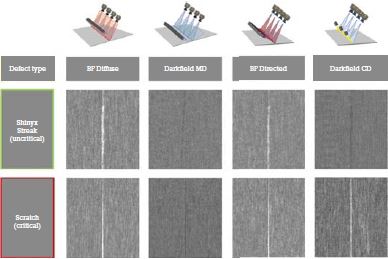
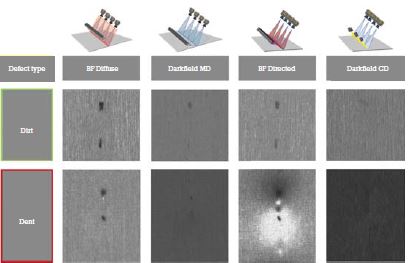
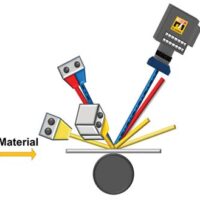
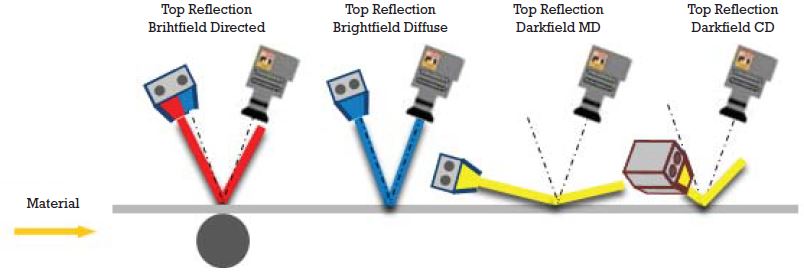
Intelligent software for classification is essential. Since it cannot do the job alone, hardware must assist by adding intelligence to the system. Some years ago, multi-view inspection systems were successfully introduced to the metals industry. These systems not only use a brightfield/darkfield configuration, but also add information from a directed brightfield to increase sensitivity on topographic defects and a cross-directional darkfield for longitudinal defects. This information gain improved detection and classifier performance.
However, development continues and indeed more can be achieved using Multiple Image Defect Analysis (MIDA). Since the signals from different views are captured simultaneously, intelligent algorithms filter and compute the signals from each view. This is not done only one by one, but also by combining them prior to thresholding, segmentation and feature extraction. That way material noise and uncritical events are suppressed while the signal-to-noise ratio of critical defects is amplified.
The result
When an intelligent multi-view optical configuration including real-time signal computing differentiates critical and non-critical events, and creates maximum defect information for the classifier, only then can we really enjoy our mushrooms. Or find a new definition of trust in our coil grading.
